How to Schedule An Email In Gmail, Outlook, Spike, & iCloud Mail

With modern communication, we’ve got used to sending and receiving messages at all times of the day and night, and it can become a little overwhelming – especially when messages start spilling out into after-hours, days off and even our vacations.
Being “always on” isn’t the best way to stay productive, and you can help combat this whirlwind of messages with the power of scheduled email.
Email scheduling allows you to compose messages when it suits you, but have them delivered when it suits the recipient. Despite email being an asynchronous form of communication, we tend to engage with email as soon as it hits our inbox. Therefore, when an email reaches someone it can be just as important as what it says. Having the power to schedule email gives you control over your own time and the reaction to your message.
From a sender’s perspective, scheduled email allows you to write all your messages in a single block of time, so you can focus on other tasks throughout the day rather than continuously hopping back into your inbox. This is especially useful if you’re heading out of town or plan on being away from your computer – you can schedule relevant emails and walk away without having to worry.
Furthermore, email scheduling can help make your work more effective – an email delivered at the right time will garner a much greater response to marketing efforts than one you shoot off during your morning routine. The best time to send an email if you want high engagement depends on your field, the recipient’s time zone, etc., but with an email schedule, you have the power to control this.
Email scheduling can also be extremely useful when working with team members who are on vacation, or simply on their day off. You can write an email to them at a time that suits you, but schedule it for when they are back on the clock – no more annoying messages while you’re kicking back on the beach!
The same is true for team members in different time zones. Many modern companies are going either partially or entirely remote, with a workforce spread across different cities, countries, and continents. Scheduled emails are a key tool for a distributed workforce as they allow you to send an email during your work hours knowing it will arrive during your colleagues’ work hours, wherever they are in the world.
Now you know some of the benefits, let’s take a look at how you can schedule email using various email clients and platforms.
How to Schedule an Email in Spike

Spike offers a robust email scheduler for any email address – Gmail, Outlook, Yahoo, and all business email addresses – thanks to its Unified Inbox, which puts multiple accounts in a single place.
Spike schedule lets you choose when to send any email from any account whether you’re on the desktop app for Windows and Mac or accessing your emails through the intuitive web browser.
How to Schedule Email with Spike
-
Go to Spike online or open the Spike desktop app.
-
Click the new message symbol in the bottom left of the screen.
-
Draft your email as usual, including recipients, subject, and any attachments you want. You can also choose to send scheduled emails to a group chat for streamlined communication.
-
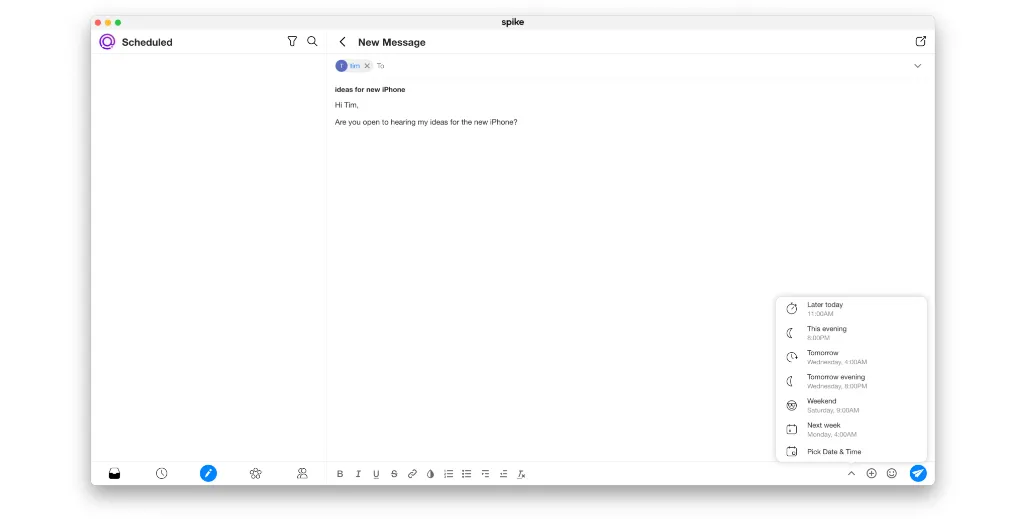
When you’re ready to send, click on the upward-facing arrow in the bottom right-hand corner (to the left of the attach symbol).
-
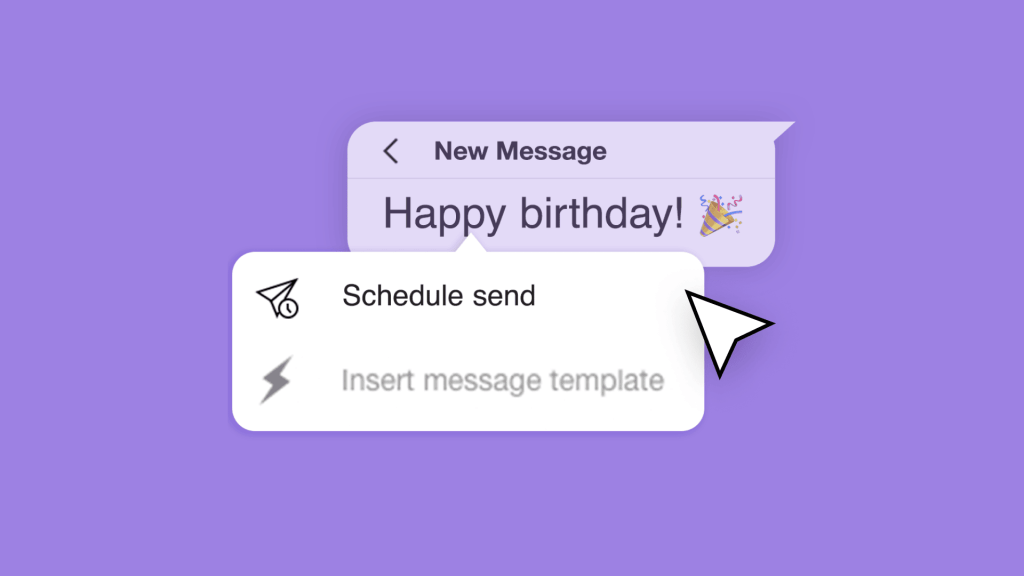
Select “Schedule send.”
-
Choose one of the handy presets or enter a custom date and time to send the message.
How to Edit a Scheduled Email with Spike
-
Go to Spike online or open the Spike desktop app.
-
Click your profile image in the top left-hand corner of Spike.
-
Select “Scheduled” from the dropdown list that appears.
-
Select the message you wish to edit.
-
You can edit, reschedule or discard your message as you wish.
Spike’s Send Later feature gives you the power to schedule emails from any account you use, all from a single unified inbox. What’s more, Spike also helps organize your incoming mail (even if other people aren’t scheduling) with Priority Inbox. This cutting-edge email feature splits your incoming messages into what’s important, which you can see straight away, and everything else (like digital receipts and newsletters), which goes to the “Other” pile. This helps you read messages at a time that suits you as well as sending them at a time that suits you.
How to Schedule an Email in Gmail

Gmail remains one of the most popular email providers available today with more than 1.8 billion active users around the world. Whether you use Gmail’s web interface, iOS app or Android application, you are able to schedule emails to send out at a later time.
How To Schedule an Email Using Gmail On The Web
-
Open Gmail.
-
Click Compose and draft the email as you normally would (recipient, subject, and body text).
-
At the bottom of the compose window, there is a down-facing arrow next to the “Send” button. Click this arrow.
-
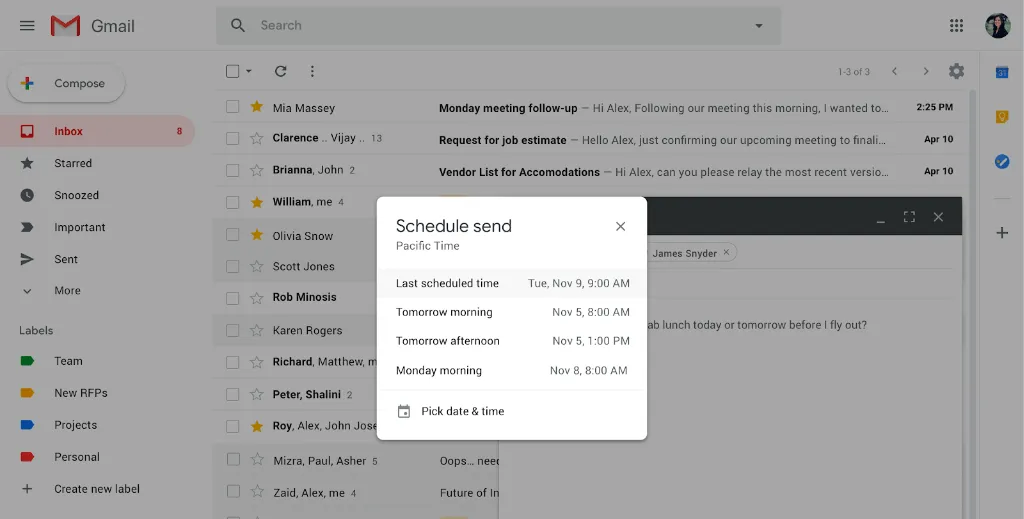
The “Schedule send” option will appear. Click this.
-
A pop-up will appear offering some suggested days/times as well as the option to pick a custom date and time.
-
Choose a date and time to send the message.
How To Schedule an Email Using Gmail’s Mobile Apps
-
Open the Gmail app.
-
Tap Compose.
-
Draft your email as you normally would.
-
In the top right-hand corner, tap for more options (three horizontal or vertical dots).
-
Click “Schedule send” and choose a date and time to send the message.
It is worth noting that you can only schedule up to 100 emails with Gmail, and there is currently no way to schedule “confidential mode” messages to send later. This could be a problem for anyone looking for a more secure email service.
How to Schedule an Email in Outlook

Outlook is Microsoft’s answer to email and has been one of the most popular providers and clients for decades. If you’re an Outlook user, here’s how to schedule email on the web and your desktop.
How To Schedule Email on Outlook on The Web
-
Open Outlook.
-
Select “New message.”
-
Compose your email as you normally would, including recipients, a subject, and any attachments.
-
Select the dropdown menu next to the “Send” button.
-
Click “Send later.”
-
Choose the date and time you’d like the email to be sent and click “Send.”
How To Schedule Email on Outlook for Windows
-
Open the Microsoft Outlook application.
-
Select “New Email” in the top left of Outlook. A new compose box window will open.
-
Compose your email as you normally would, including recipients, a subject, and any attachments.
-
Click the “Options” tab in the menu ribbon.
-
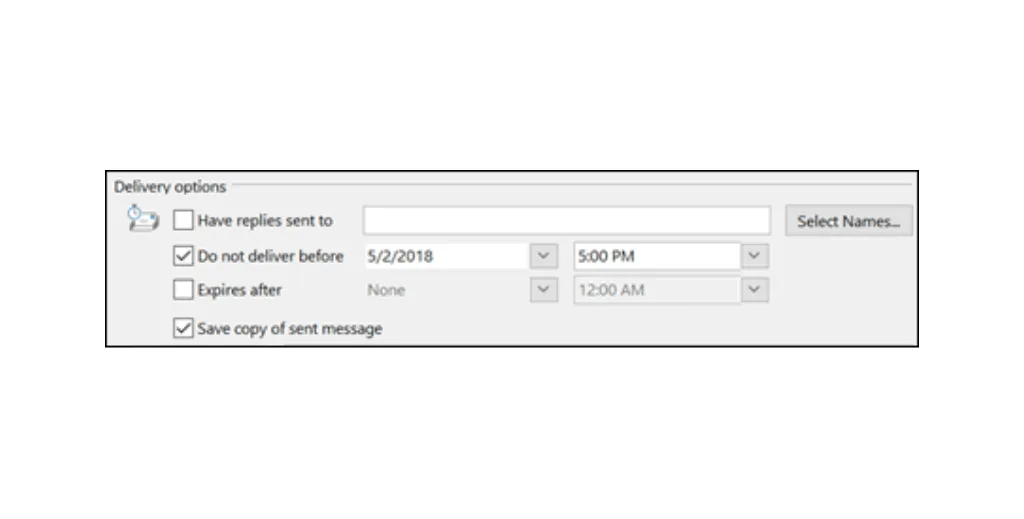
Select “Delay Delivery.”
-
Under “Delivery Options”, check the box for “Do not deliver before” and enter the date and time you want it to be sent.
-
Click “Send.”
Currently, there is no option to schedule emails on Outlook for Mac, so Apple users are out of luck. It’s also worth noting that when scheduling emails in Outlook for Windows, the message remains in Outlook until the time specified, and the program must be online and connected for the feature to work.
How to Schedule an Email in iCloud Mail
If you’re looking to schedule email with Apple’s Mail, iOS 16 and macOS Ventura have enabled schedule send with Apple’s native email clients. While it works pretty well, it has one glaring difference compared to Spike, Gmail, and others. Your device is required to stay turned on and online. If you have a scheduled email in iOS 16 or macOS Ventura and you turn your devices offline or get on an airplane without Wi-Fi, your emails will not be sent at your scheduled time.
Summary
Email can be time-consuming and overwhelming if it isn’t managed properly, and one of the most valuable tools in your productivity arsenal is email scheduling. A send later function allows you to compose messages when it suits you and deliver them at the right moment for your recipient – whether that is once they’re back from vacation or in the moment they’re most likely to respond.
Spike delivers the tools you need to schedule any email from any account with the click of a button and does so while also providing a whole suite of other powerful email functionalities – from built-in Video Meetings to simple-to-use Voice Messages. What’s more, with Spike Priority Inbox, you can streamline your incoming messages just as easily as your scheduled outgoing messages, so you can stay on top of your inbox at all times.


