How to Enable Multi Factor Authentication (MFA) for Popular Email Clients
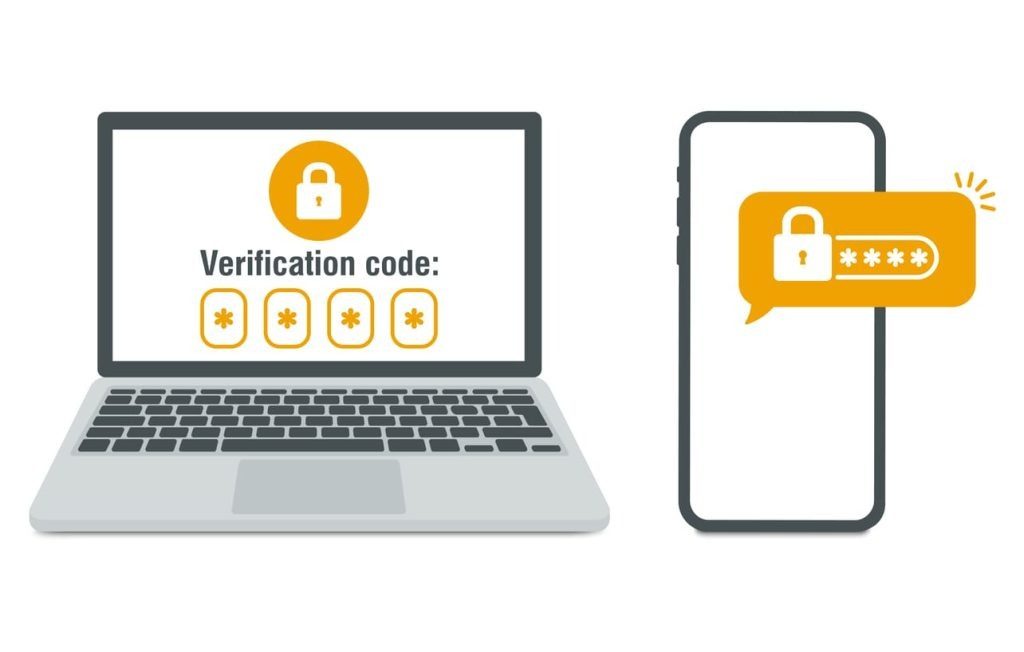
Password security is often a hot topic among security professionals. If you use the same password everywhere, and one site gets hacked, then you are vulnerable everywhere. Whenever a big website is compromised, hackers will often try stolen login credentials on sites like PayPal, Gmail, Amazon, etc.
By having a unique password, you only have one compromised login vs hundreds of potential passwords floating around the internet. There is another way to increase security that all security professionals recommend. It’s called Multi-factor Authentication and it’s recommended for every website you use that supports it. In a sense, it combines something you know (your password) and something you have (an app that generates a two-factor authentication code).
What is Multi-factor Authentication (MFA)?
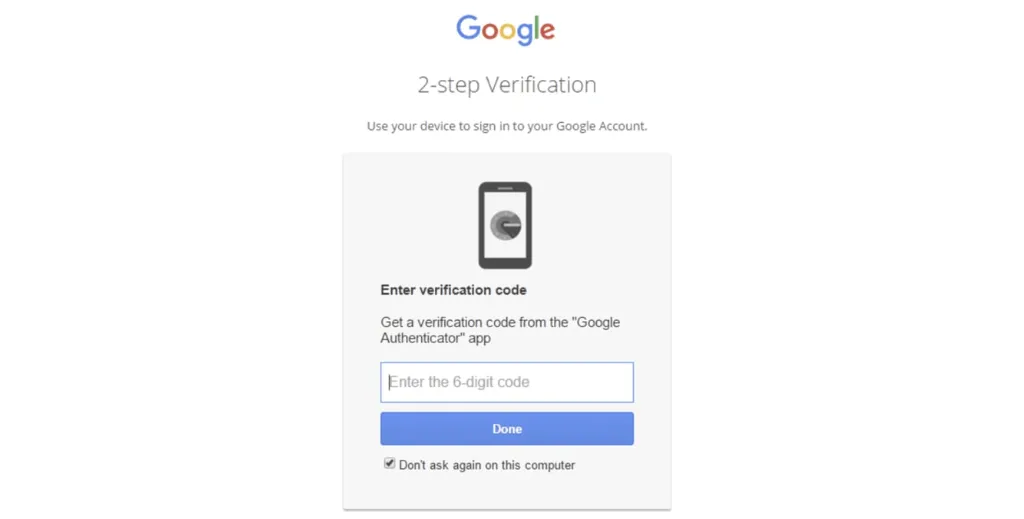
Multi-factor authentication, also known as two-step or two-factor authentication, provides an extra layer of security when logging in to online accounts. It requires users to enter a code or verify their login from a seperate device, in addition to entering their username and password.
There are multiple apps that support this. Popular ones are:
While they look and act differently, they all use the same technology to generate the codes. Some websites might even mention they work with Google Authenticator, but this doesn’t mean it’s the only app that will work.
When you log in to a platform that supports Multi-factor Authentication, you’ll be prompted to enter your secondary code. As mentioned above, these codes rotate frequently, so you’ll need to grab it quickly. One benefit here is that it works offline so you don’t have to worry about receiving an SMS message.
Using SMS for Multi-Factor Authentication
One thing to note is that SMS is not a secure way to use Multi-factor Authentication. SMS communication is not very secure compared to the one-time-based passcode solutions. T-Mobile’s recent data breach should also concern customers who are using SMS for Two-factor Authentication. The attack reportedly leaked IMEI information which compromises the security of SMS-based Two-factor Authentication solutions.
Hackers use inexpensive mirroring solutions to monitor SMS activity and grab SMS Two-factor Authentication codes without users knowing. Users that sync SMS messages with their Mac or PC also increase their risks if a computer is stolen by a hacker who can easily access these SMS two-factor codes.
How to Enable MFA for Popular Email Clients
This section explains how to enable MFA for:
-
Google Workspace
-
Outlook / Exchange
-
iCloud
-
Yahoo
-
Gmail
-
FastMail
How to Enable MFA for Google Workspace
-
Open your Google Account.
-
In the navigation panel, select Security.
-
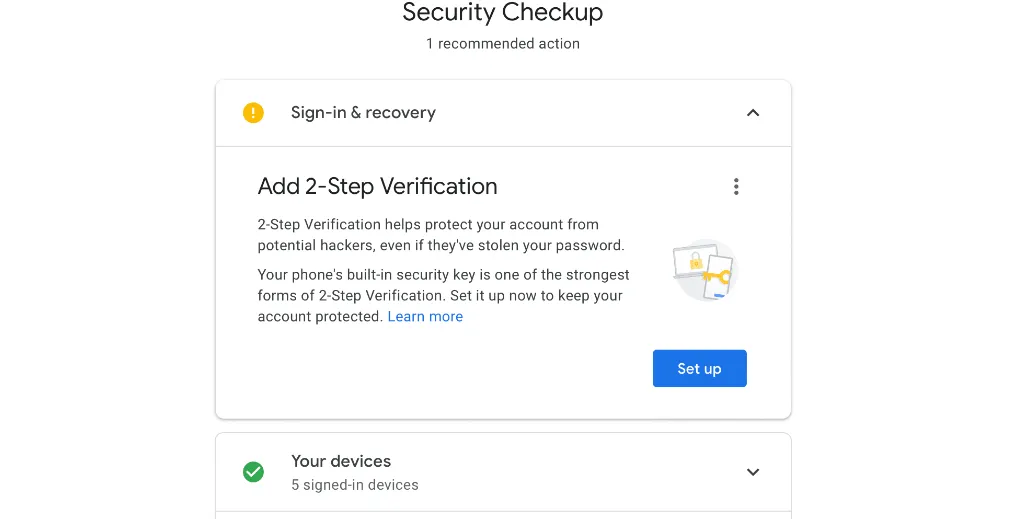
Under “Signing in to Google,” select 2-Step Verification and then Get started.
-
Follow the on-screen steps.
Google recommends using prompts from the Google app for iPhone and Android, but you can use your own authentication app.
2. How to Enable MFA for iCloud
Apple uses a custom protocol for Multi-factor Authentication with verified devices. A trusted device is an iOS device iOS 9 or later, or a Mac with OS X El Capitan or later that you’ve already signed in to iCloud using Apple’s Two-factor Authentication.
If it’s a device Apple knows is yours, it can be used to verify your identity by displaying a verification code from Apple when you sign in on a different device or to iCloud.com in a web browser. An Apple Watch running watchOS 6 or later can receive verification codes when you sign in with your Apple ID, but cannot act as a trusted device for resetting your password.
Speaking of passwords, it is important not to use the same password for multiple accounts and emails. It is the easiest way to compromise on security. Instead, you should create different and complex passwords for each account to enhance your online security.
But of course, managing these passwords can be a challenge, which is where using the best password manager for mac comes in handy. Such tools make it easier to generate, retrieve, and organize complex passwords effortlessly on your Mac.
Apple does allow you to use a trusted phone number as a backup method. Apple requires you to verify at least one trusted phone number to enroll in Two-factor Authentication.
To turn on Two-factor Authentication on your iOS devices:
-
Go to Settings > [your name] > Password & Security.
-
Tap Turn On Two-factor Authentication.
To turn on Two-factor Authentication on your Mac:
-
Click on the Apple menu > System Preferences, then click Apple ID.
-
Click Password & Security under your name.
-
Next to Two-Factor Authentication, click Turn On.
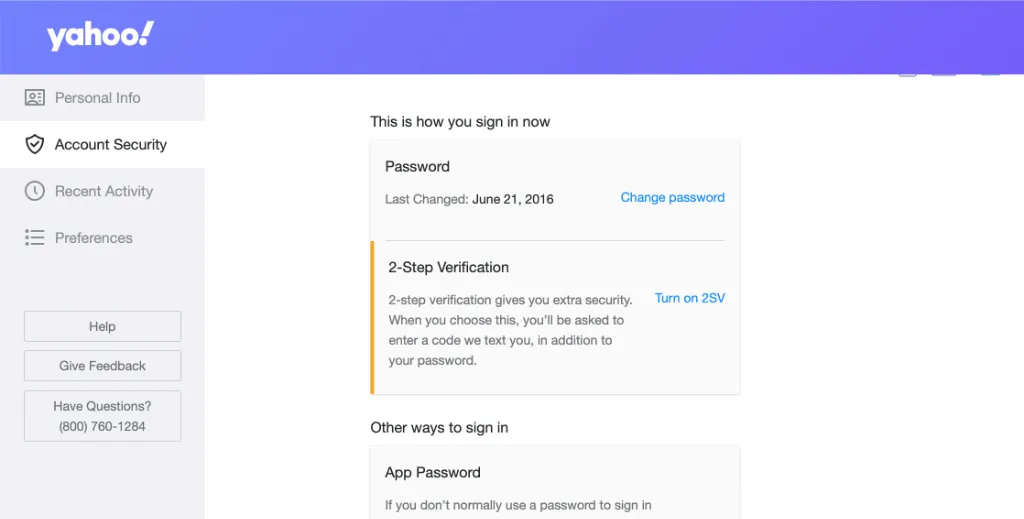
3. How to Enable MFA for Yahoo
-
Sign in to your Account Security page.
-
Next to “2-Step Verification,” click Turn on 2SV.
-
Click Get started.
-
Select Authenticator app for your 2-step verification method.
-
Click Continue.
-
Scan the QR code using your authenticator app.
-
Click Continue.
-
Enter the code shown in your authenticator app.
-
Click Done.
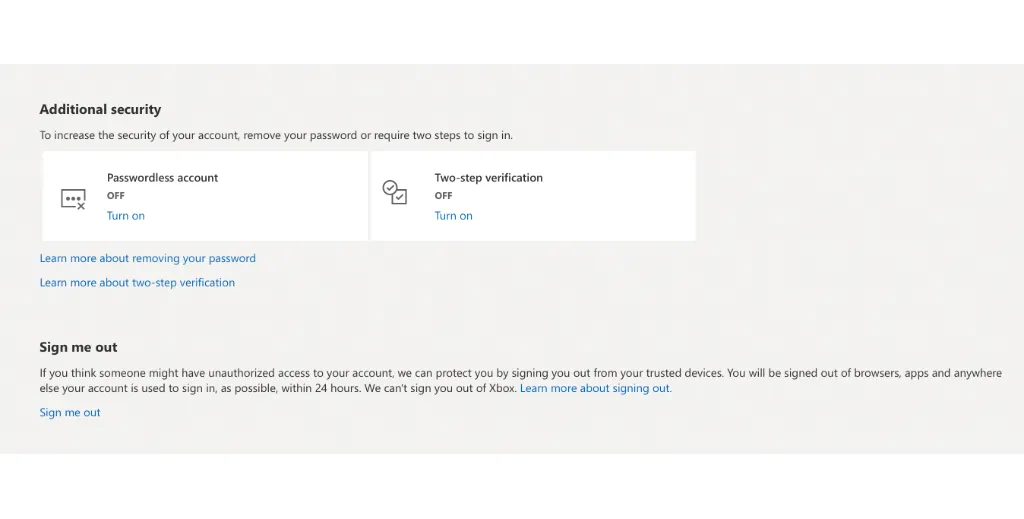
4. How to Enable MFA for Outlook
-
Go to the Security basics page and sign in with your Microsoft account and select More security options.
-
Under Two-step verification, choose Set up Two-step Verification to turn it on, or choose to Turn off Two-step Verification to turn it off.
-
Follow the instructions on the screen.
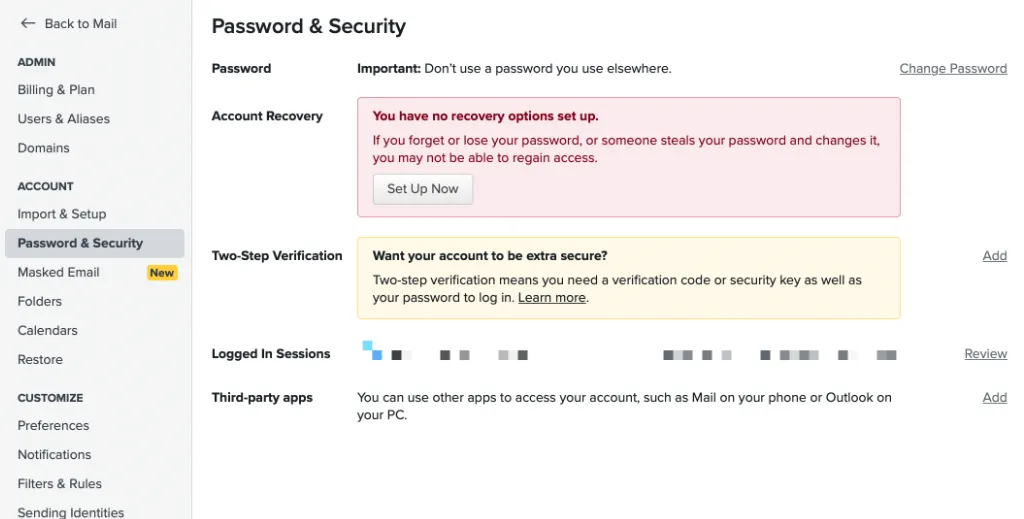
5. How to Enable MFA for FastMail
-
Open Settings > Password & Security screen.
-
If this is your first time enabling Two-step Verification for FastMail, you must add a recovery phone to your account.
-
If you have a recovery phone on your account, go to the Two-step Verification section and click Add.
-
Click Set Up Two-step Verification.
-
Select which kind of verification device you’re adding to your account.
-
Proceed to authentication for your multi-factor app.
How do Email Clients Work with Multi-factor Authentication?
For as long as desktop email clients have been around, the way they integrate with email hosting providers has changed a lot. Before the rise of OAuth technology, adding your email account to an email client required you to input your password directly into the app.
With OAuth, your email client never receives your password but rather a token that can be easily revoked in the future. Not only does this process increase security, but it also makes it much easier to add your email address to a client as you don’t need to tinker with the IMAP or SMTP settings.
Through this OAuth process, your email solution will ask for a multi-factor code which will be generated by a known device (an existing device that’s logged in, Google Authenticator, etc) and inputted into your the OAuth login window.
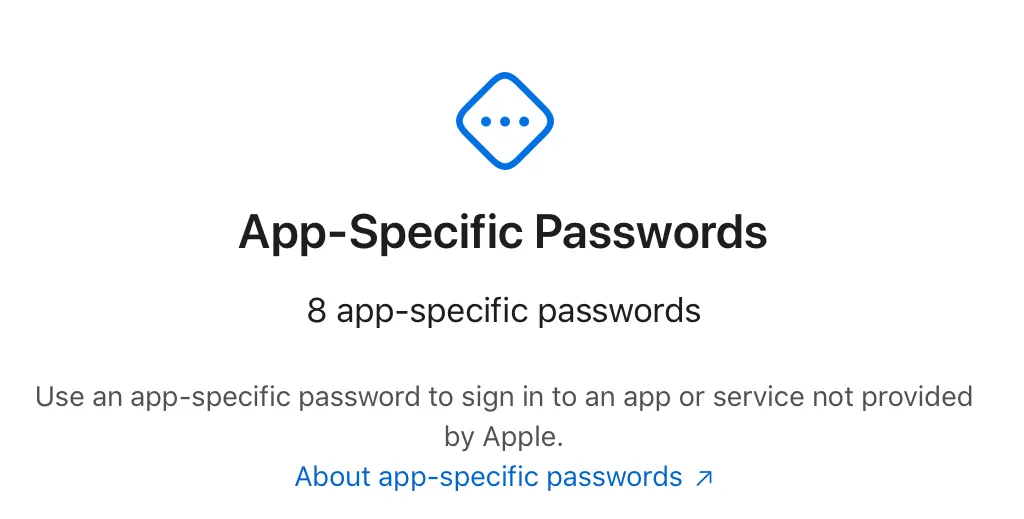
Spike’s secure email app natively integrates your email accounts using OAuth technology. When you add your Gmail, Outlook, or Yahoo! account to Spike, you’ll be prompted to enter your multi-factor authentication password. When setting up iCloud with Spike, you’ll need to create and enter an app-specific password.
Summary
Multi-factor Authentication might seem like a scary process, but modern email clients have made it much easier. New apps have made managing your multi-factor codes even easier. Spike recommends that you enable Multi-factor Authentication on all of your email accounts that support it.


