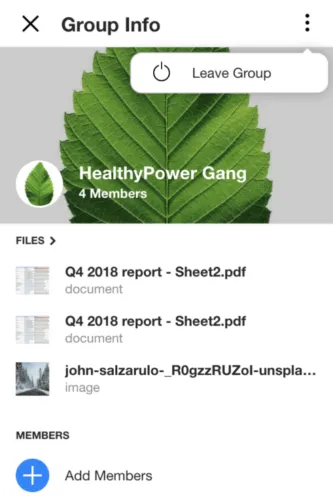
Spike Groups
‘Groups’ are a collaborative workspace for teams and clients, for both personal and business needs. They transform complicated email chains into easy-to-follow conversations that can be separated by topic. It’s team chat without ever leaving your inbox! You can find your Groups at the bottom toolbar under the five-circles icon:

Anyone can join a Group, even contacts who aren’t using Spike! Add anyone with an email address to your group chat.
However, non-Spike contacts will receive a unique invitation email and see any Group messages as traditional email chains with the Group’s name as the subject line.
Note that the number of groups you can create depends on your Spike subscription plan.
How to create a Spike Group
There are 2 ways to create a new Group:
-
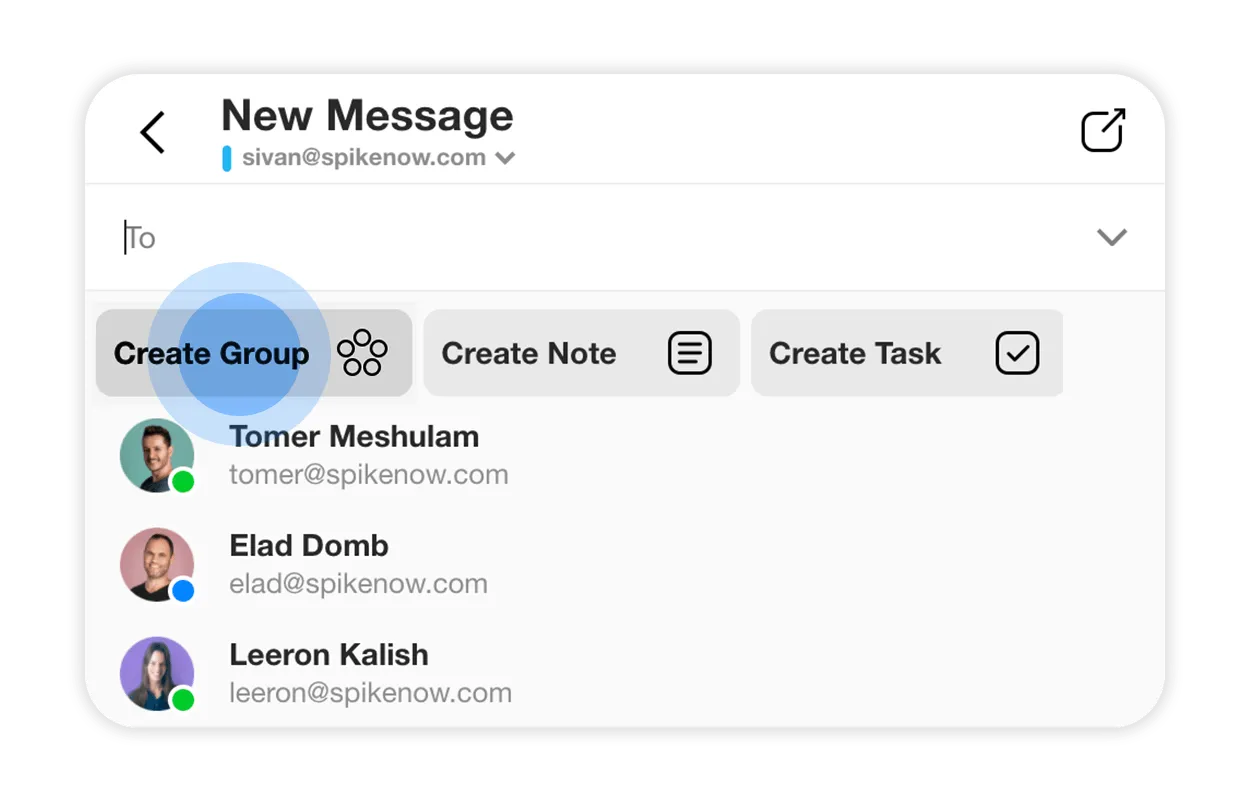
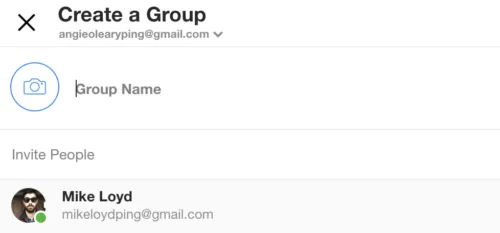
Open a new message composer and select “Create Group”
-
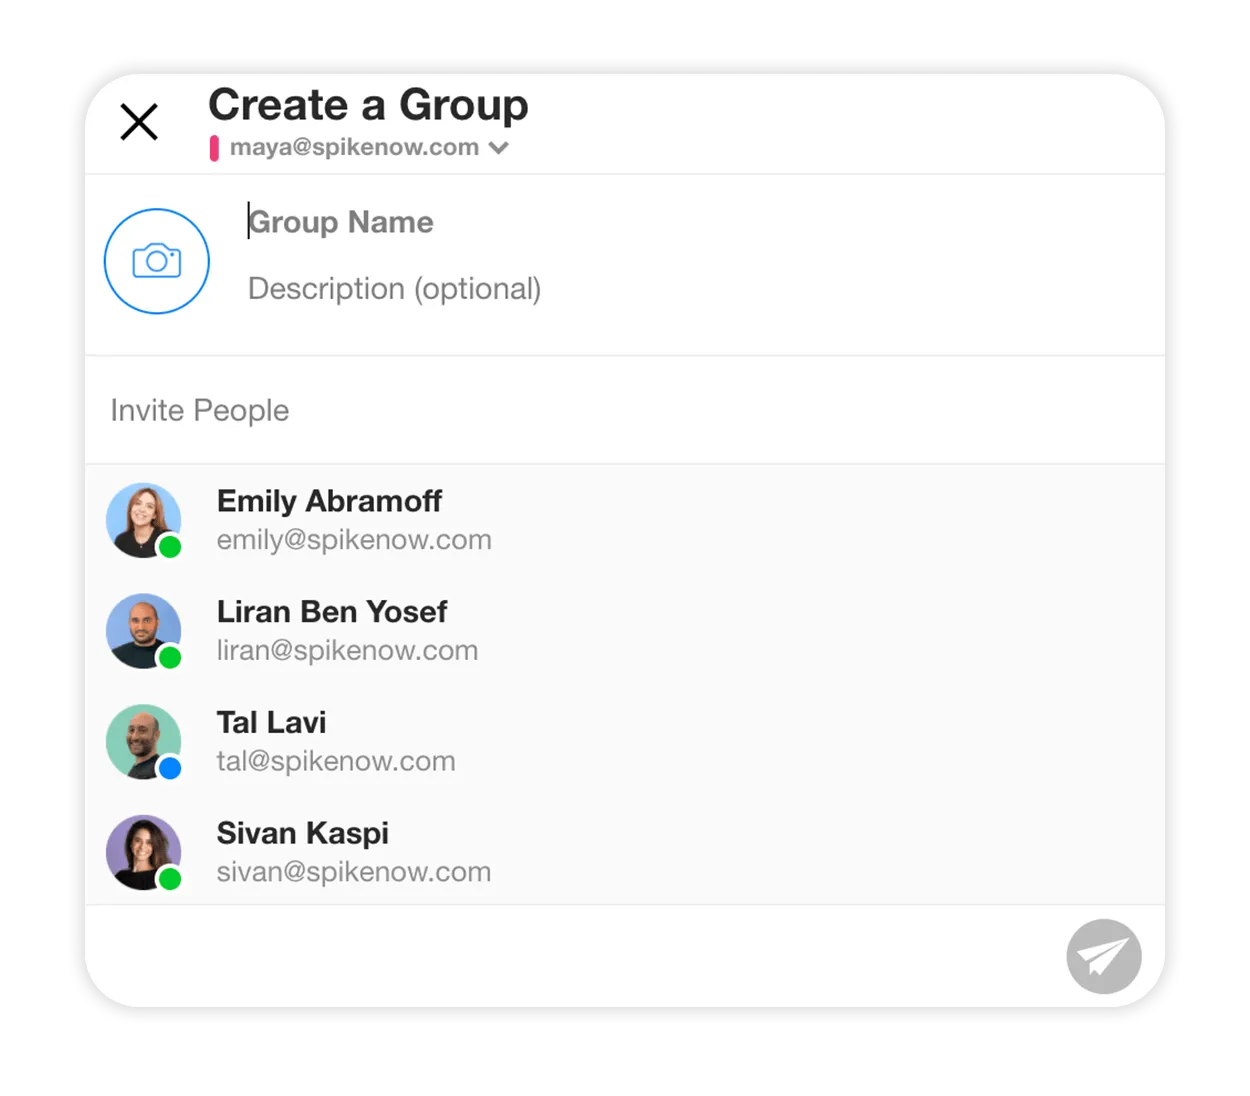
Give the Group a name/subject, add the description, Group icon and invite members. You can always add or edit these later
-
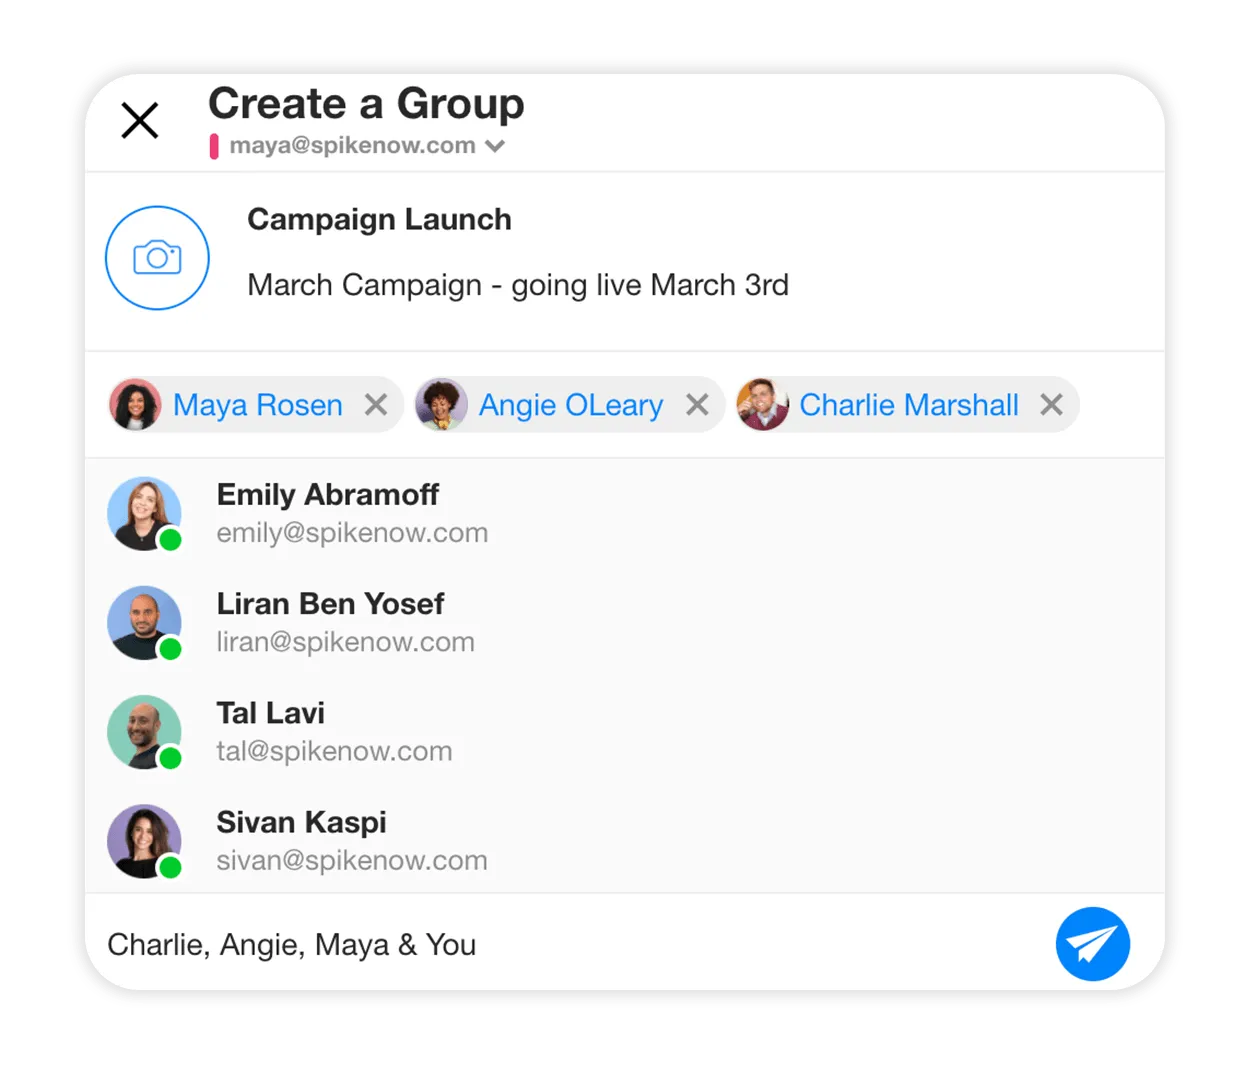
Once you have chosen which members to add, you may name the Group. Tap the blue arrow icon to create that Group
Or via the Groups section:
-
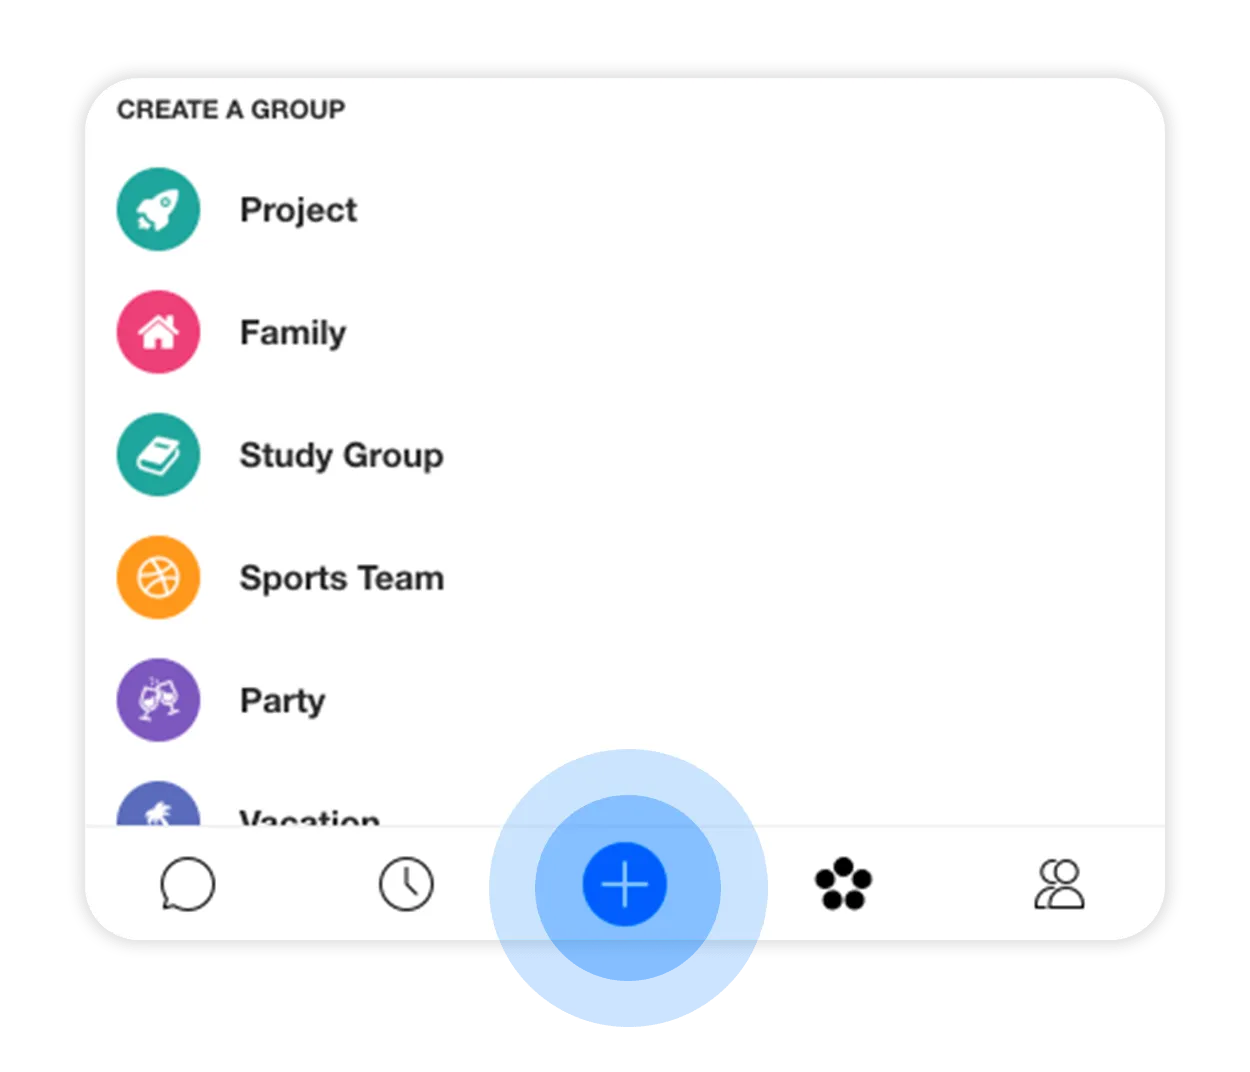
At the bottom of your screen, select the ‘Groups’ icon represented as five circles to go to your group chats
-
Select the blue plus icon (+) on the bottom right of your screen to create a new Group, give it a topic, a description and add participants
-
Select the blue arrow icon to create the Group and send invites

-
You can also edit the description, update the Group picture and invite more people afterwards
Any non-Spike users who receive a Groups invite can reply directly to the invite email without having to download or sign up to Spike
Add or Edit Group Description
Customize and give each Group a description to clearly show its purpose, topic or status updates.
Any Group member can add or edit the description.
When creating a new Group
Desktop:
-
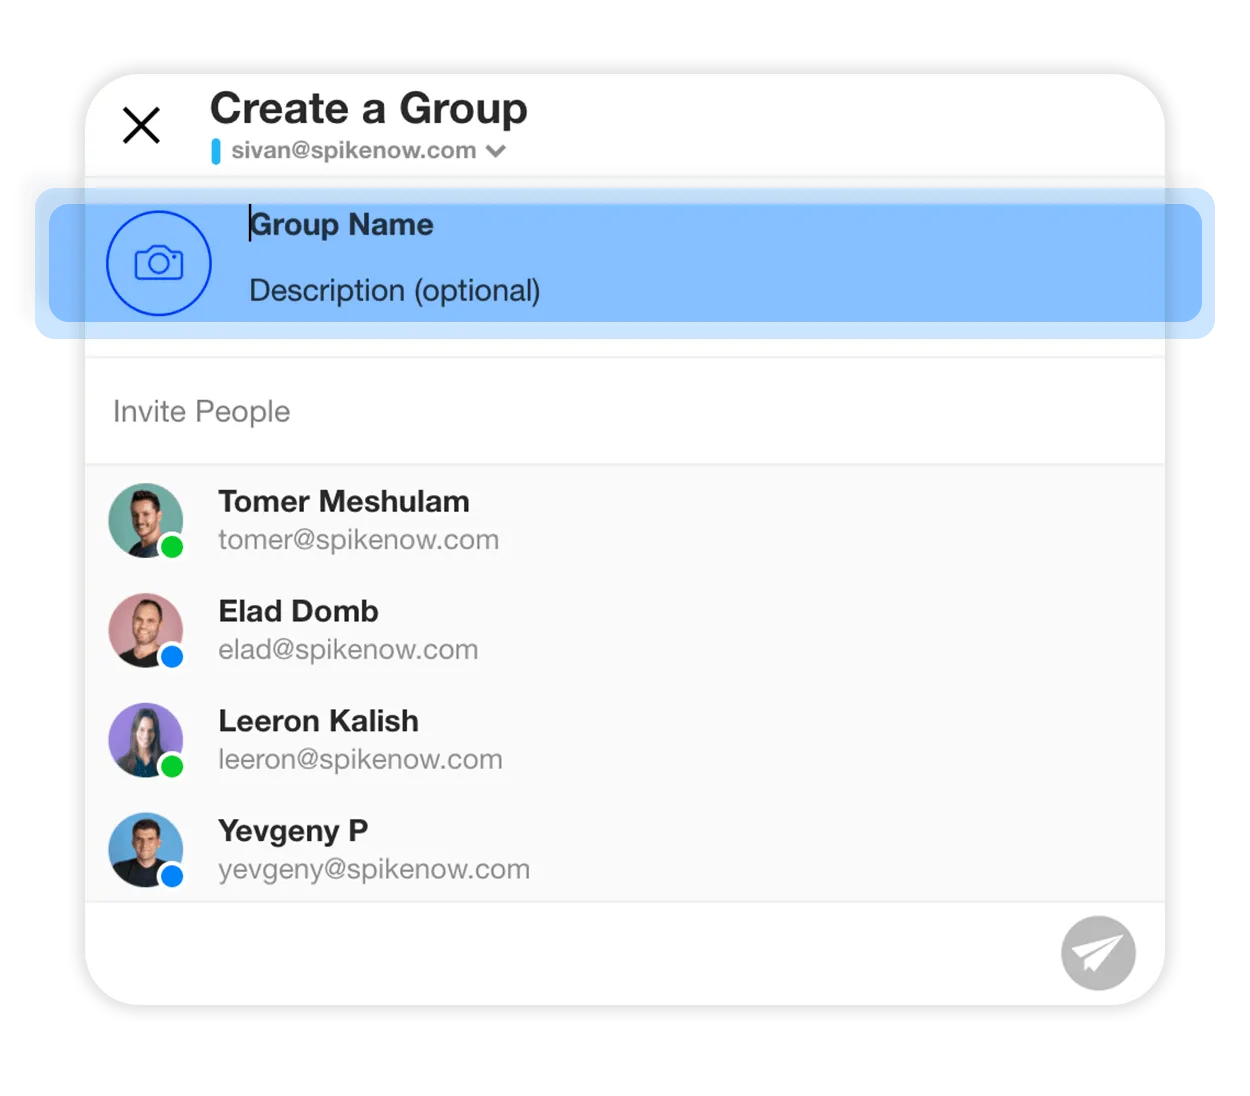
Open a new message composer and select “Create Group”

-
Give the Group a name/subject and add the description. You can always add or edit the description later
Mobile
-
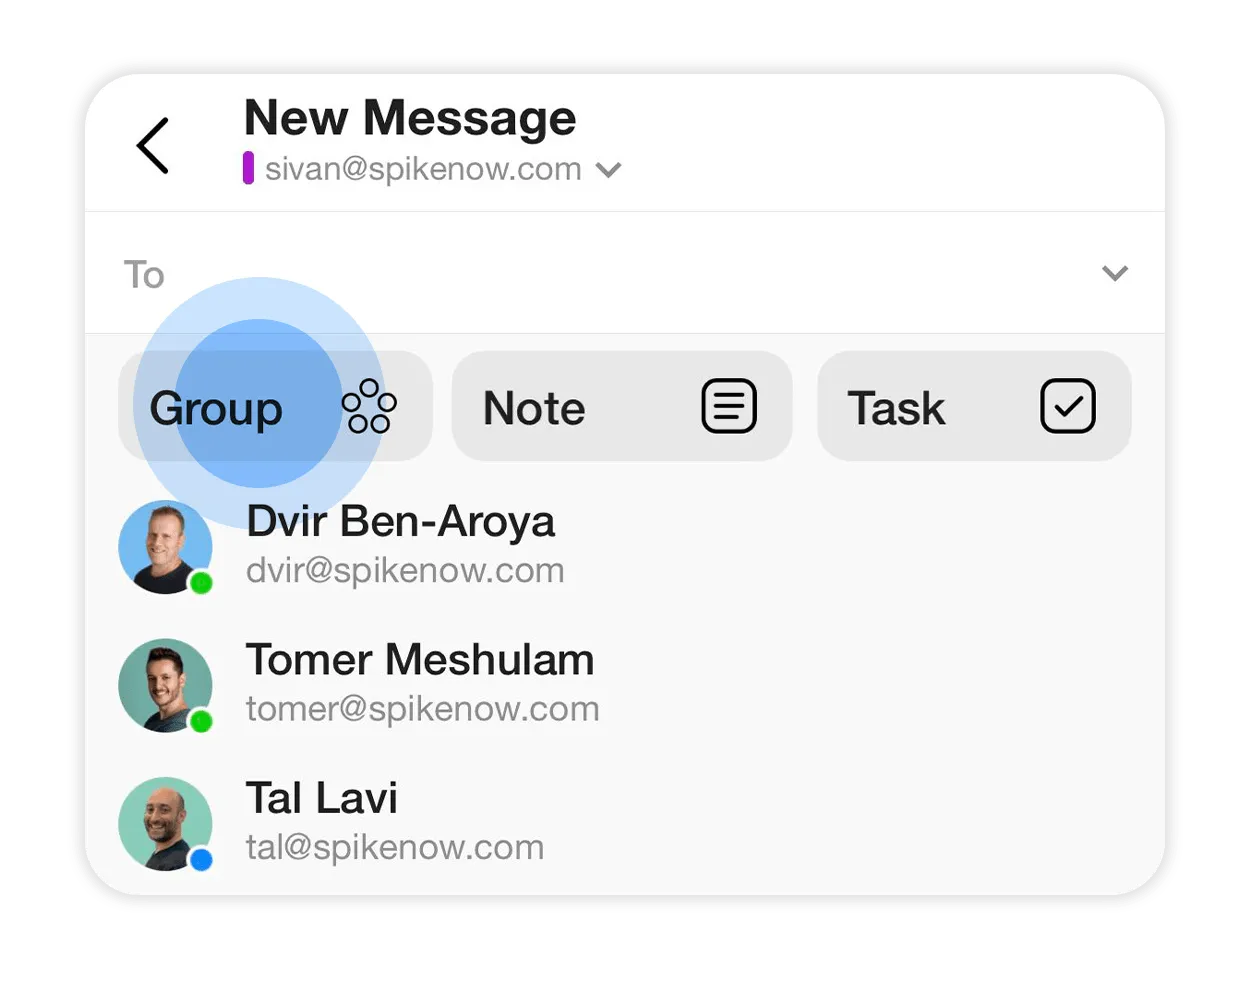
Tap on the blue pen icon at the bottom the screen to create a new message and tap “Group”
-
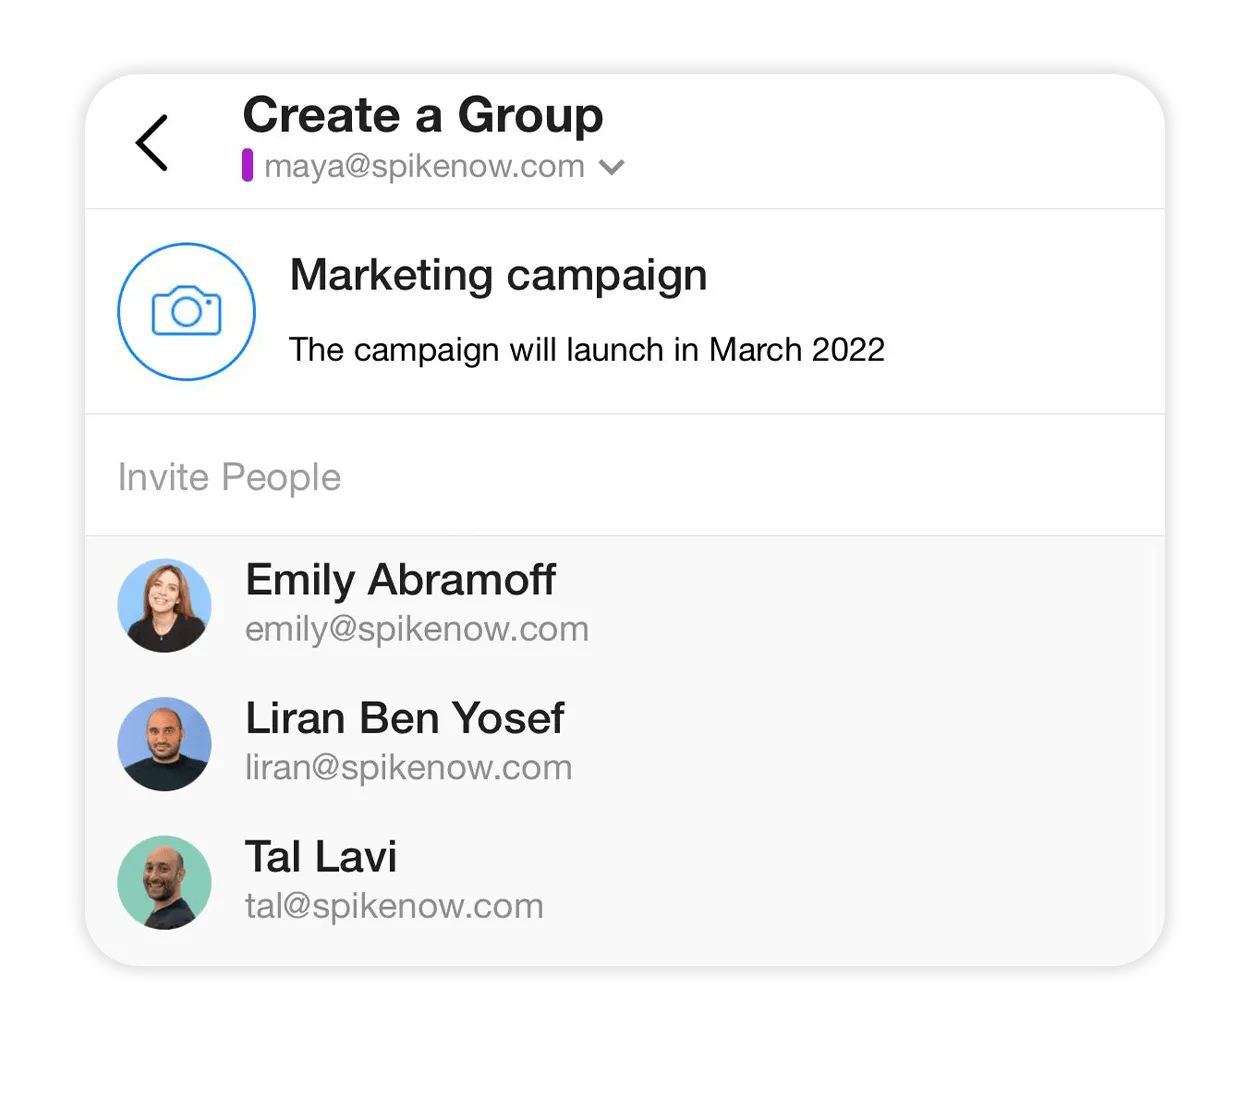
Give the Group a name/subject and add the description. You can always add or edit the description later
In an existing Group
Desktop
-
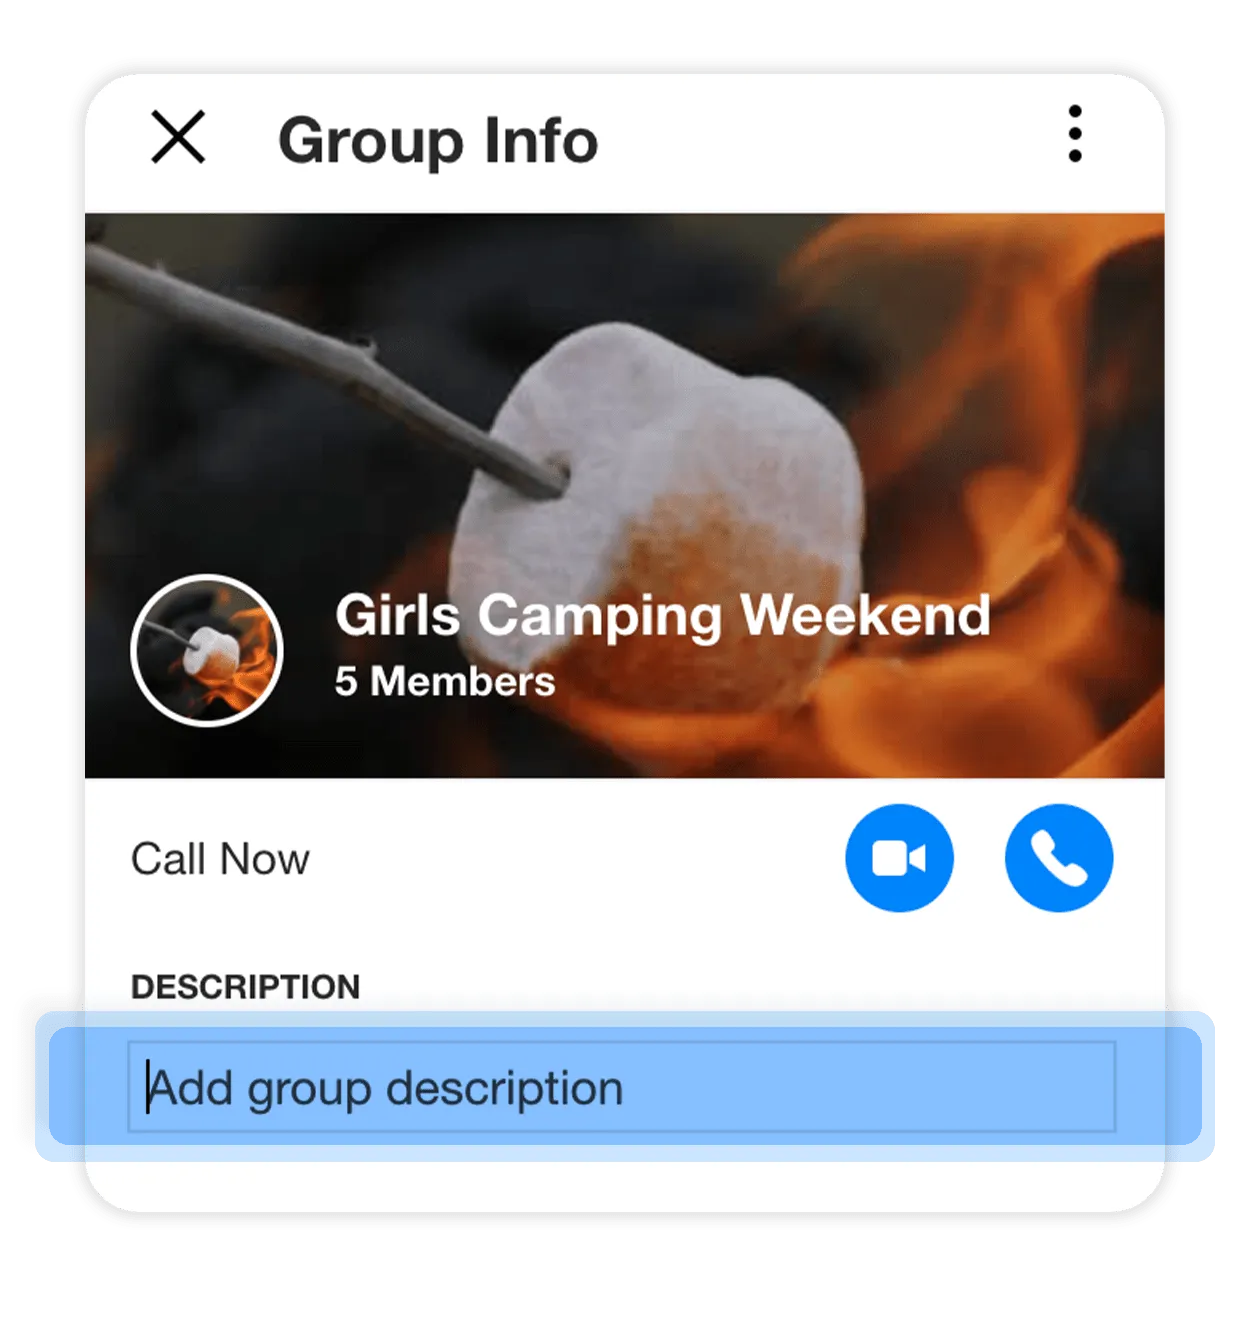
Click on the Group’s name to open the “Group Info”
-
Enter or edit your text in the description box
Mobile
-
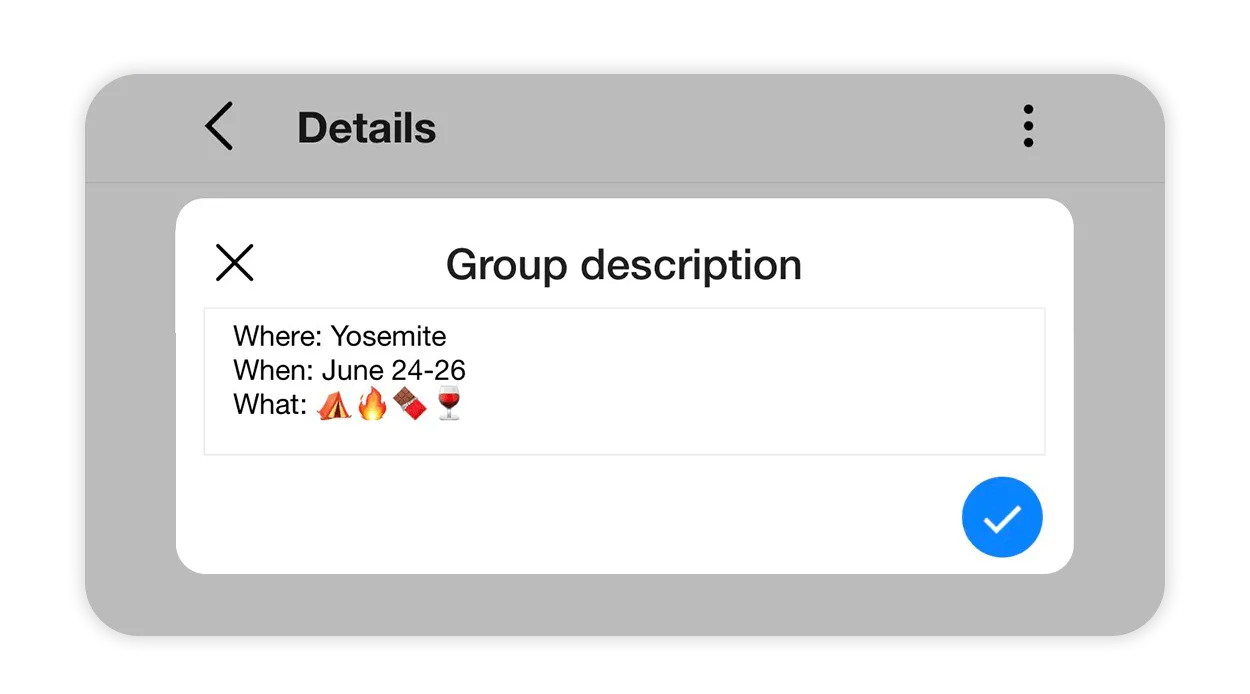
Tap on the Group’s name to open the “Group Info”
-
Tap the description box to add or edit your text
How to set a Group Name
Adding a group name is an easy way to help communicate the purpose of a group. You can create a group for specific projects, teams, or whatever else you need to organize. Some examples are social media teams, content teams, marketing groups, customer service, party planners, etc
When you click the ‘Group’ (bottom center) icon, you are provided with multiple options for ‘Group’ topics such as project, family, etc. If you wish to create your own, pressing the ‘+’ icon on the right will allow you to customize the Group topic.

How do I add/remove members in a Group?
Sometimes a project ends or responsibilities change, so adding/removing people to a Spike Group is an essential project management function.
-
Go to the Group section, where you’ll see all the Groups you’re in:
-
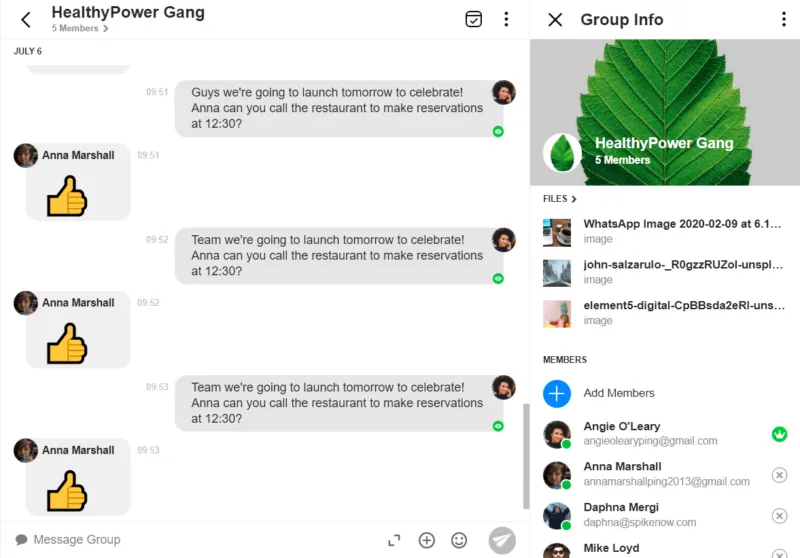
Select the desired Group and to open it in full view, then click on its name at the top of the screen to bring up the Group Info section:
-
Here you will be able to see all members of that ‘Group’, and have the option to remove or add new members.
How to mute/block a Group
There may be times that you need to mute a Spike Group in order to get some additional focus time in or maybe you’re just taking a quick vacation. Regardless of the reason, Spike puts you in control.
Mobile
-
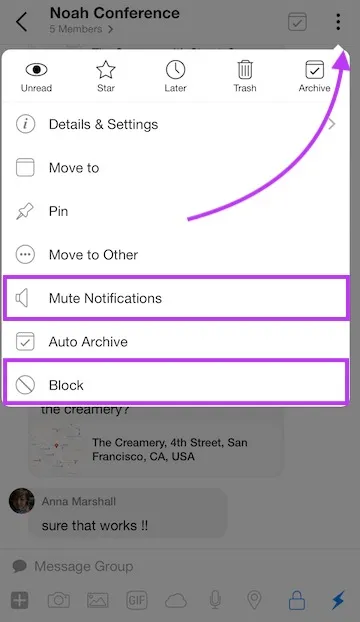
Tap on the ‘Group’ you wish to mute.
-
Tap on the top right button (three dots).
-
Here you have the option to mute notifications or block the ‘Group’.
Desktop
-
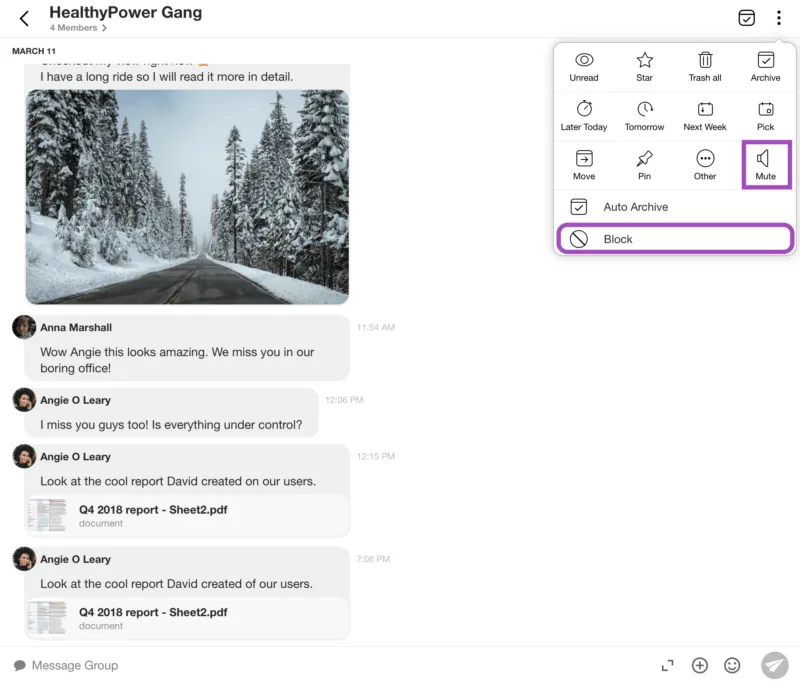
Click on the ‘Group’ you wish to mute.
-
Click on the three dots located on the top right corner.
-
Here you have the option to mute notifications or block the ‘Group’.
How to leave a Spike Group
Mobile
-
Go to the ‘Group’ section, where you’ll see all the ones you are part of.
-
Tap the icon on the ‘i’ button to see the group information.
-
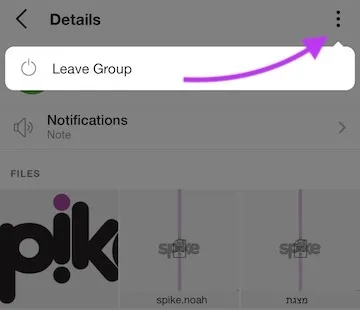
Tap on the ‘More Options’ button (three dots).
-
Tap on the ‘Leave Group’ option.
Desktop
-
Click on the name of the group. This will open an information window about the group.
-
Click on the ‘More Options’ button on the top left corner market with three dots.
-
Click on the ‘Leave Group’ button.
